
I love it when my girls ask me to bake birthday cakes for them. When
they were young I tried to get their cakes made at the local bakery but as soon
as they were old enough to have an opinion they always opted for me to bake the
cake for the party. I think it has less to do with my baking skills and more
about the chocolate connoisseur they have become; they love a rich chocolate
cake with dark chocolate ganache.

My
usual go to chocolate cake recipe is by Ina Garten published here at Food Network
website. But this time due to other commitments I had to go semi-homemade and
chose Duncan Hines triple chocolate cake mix. The other option could be Ghirardelli
chocolate cake mix; it has rich chocolate but a tad too sweet for our taste
buds. Duncan Hines has the perfect balance and the sweetness doesn't over-power
the chocolate flavor. (This, by the way, is my personal opinion and I am not
getting paid/ rewarded for choosing one brand over the other).
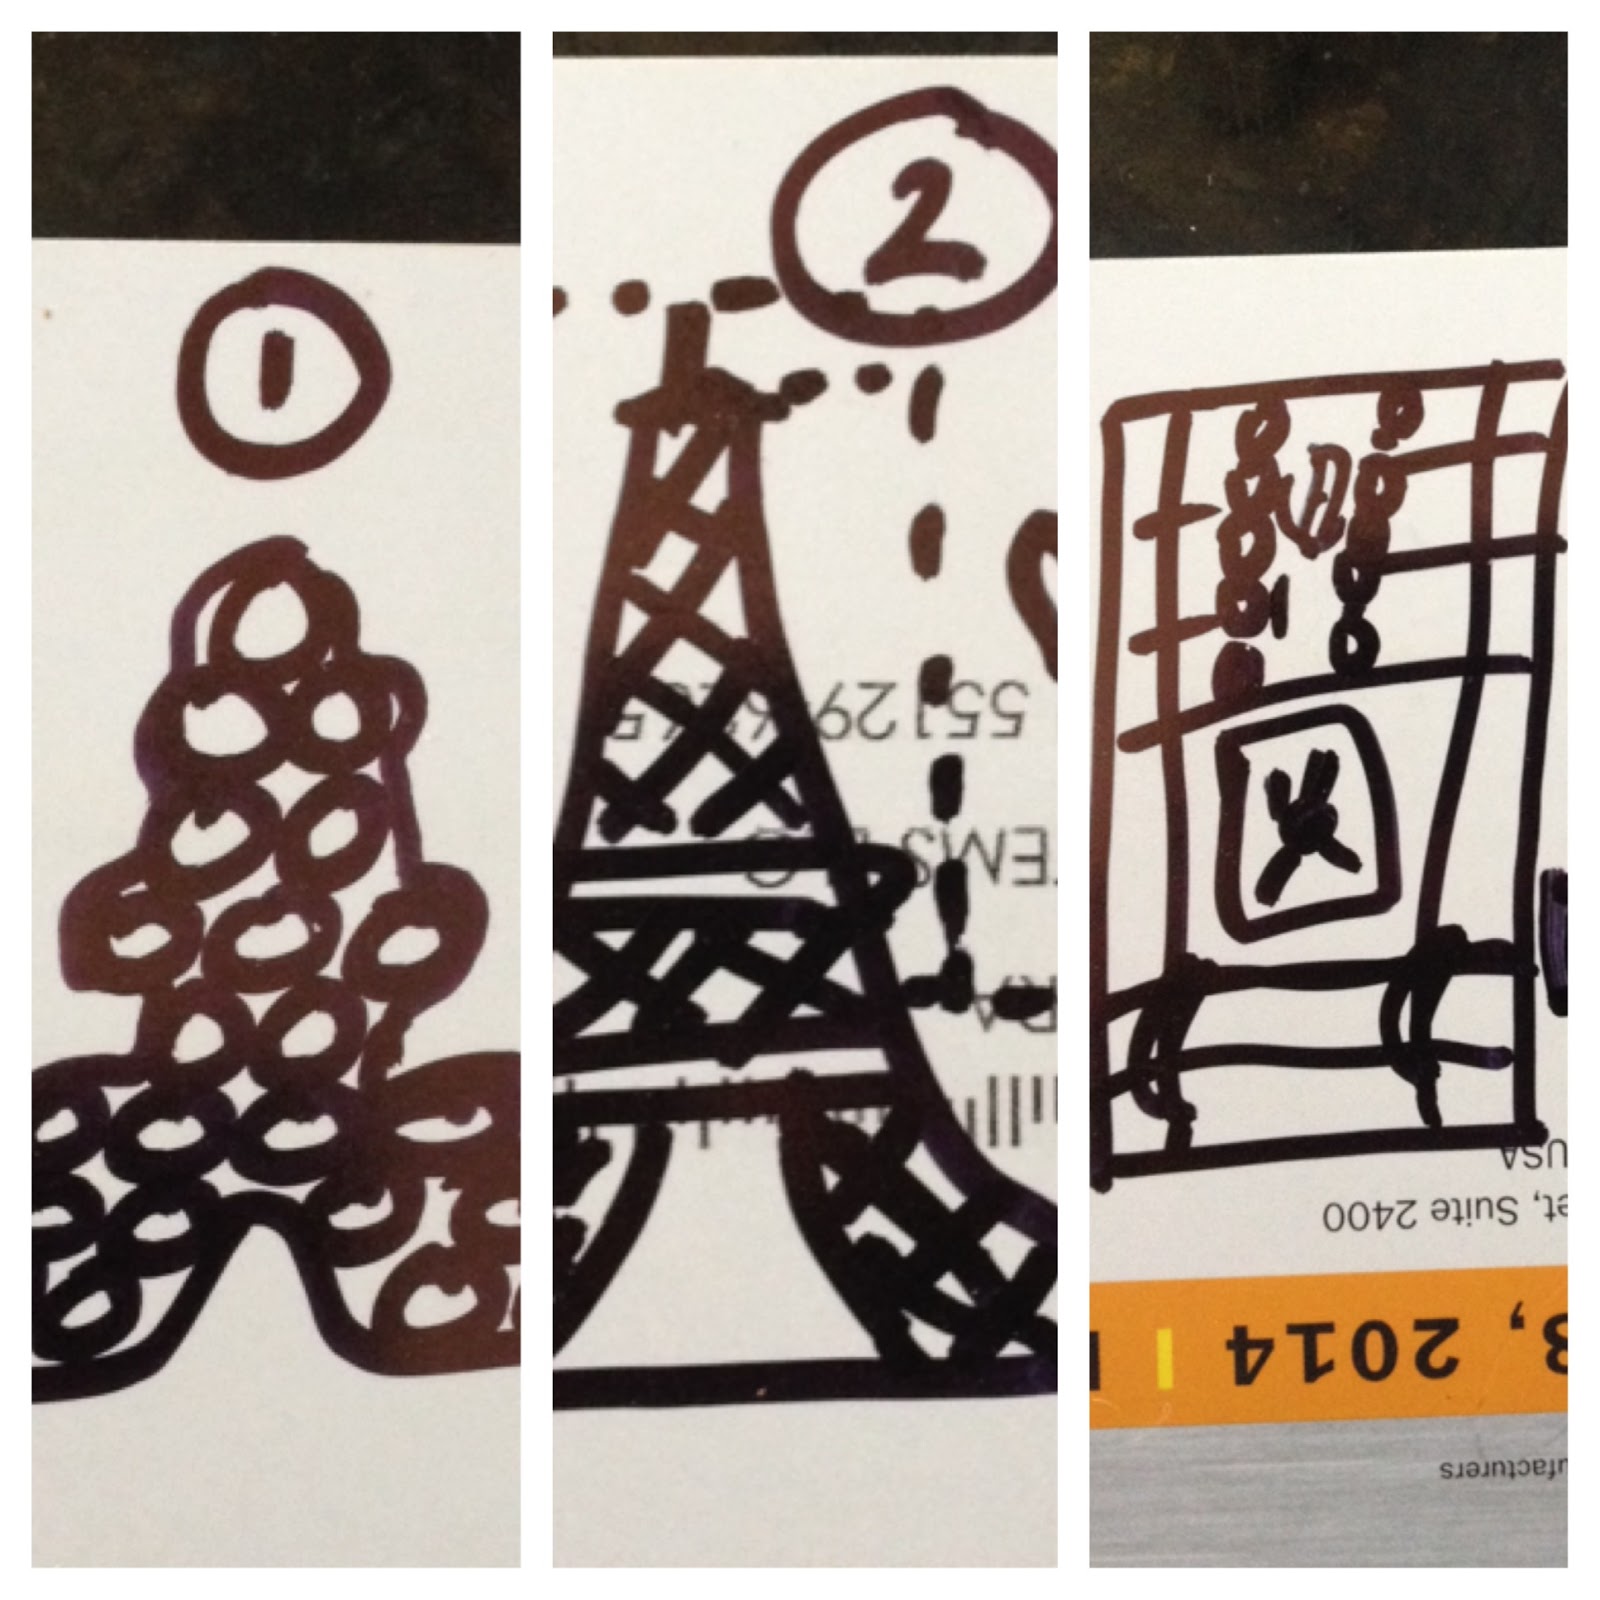
The three cake options included 1) cupcakes in Eiffel tower shape with a continuous icing, 2) Horizontal Eiffel tower cake and 3) Metal Eiffel tower standing in the cake designed as Champs de Mars.
#2 won the most votes so we went for it...
 |
| The three cake options, back of the envelope design |
I
baked the cake in the roasting pan with two packages. Last summer when I had
baked the similar cake from scratch, I had baked it in two layers and added the
strawberry jam filling to it but this time around there was no request for a
filling so I baked the whole sheet at one time. If you want it to be extremely
semi-homemade perhaps buying a sheet cake from store might do the trick as
well.

I
cut it into shape pretty much free-hand but I’d recommend that you sketch it
out before hand on the paper and create a guide (Hind sight is always 20/20).
 |
| The cut sides inverted to make tower |
Since
I didn't have a serving platter the size of cake I was making, I used hardboard
that DH covered with foil for me.

For
the ganache I followed Ina Garten’s recipe as well but used dark Lindt
chocolate (70%) instead of the semi-sweet baking chocolate morsels from grocery
store.
After the ganache was cooled, I removed the
saran wrap from the sides. I added truss mark for the Eiffel tower with WhiteWinton Icing. 
It
came in an Elmer’s glue kind of bottle so it was easy to squeeze and draw at
the same time. I did this free hand as well but make sure to calculate the
number of beams you are planning to place so the scale might work out more
evenly.
Another
hind sight tip, wait for one line to be reasonably set before you add a cross
line to it otherwise they kind of flow into each other and doesn't remain crisp
line any more.

Voila!
It ready… I guess this process can be replicated for any shape of your choice
or perhaps your kids’ choice. Enjoy!

Shalini u really live upto the words beauty and brains , happy new year and wish you all the best in ur life . Cake looks lovely .
ReplyDeleteThank you Sathya Priya :-) The photo set up was my husband's idea and I didn't realize the 'Beauty & Brains' plaque till I saw my own pictures… he..he..he. How is that for an excuse? But thank you for your kind words, its a positive feedback loop to be appreciated for being who you are. Happy New Year to you and your family as well.
Delete